Happy New Year!
Dream plans for 2015
Hello and welcome to my second favorite time of the year! The start of a new year is always so refreshing and exciting for me – I love decrapifying and organizing and dreaming up new plans for the house.
And as much as I love the Christmas decor I absolutely LOVE taking it down and rediscovering our house. It’s a fresh new space!
I always share plans I hope to accomplish for each year here on the blog, partly cause it’s fun to share but also because it kind of keeps me accountable. Early this year I did just that – and I’d say I accomplished about half of what I planned. But what I did accomplish was BIG (the family room renovation).
I had planned to get the rest of our interior doors painted black and I only got two more done…whomp whooomp. But they are beauties!:
I still have six doors upstairs I’d like to paint but the main floor is done. LOVE how they look.
I hoped to get a lot done in the mud room in 2014 and I did – I shared that progress with you earlier this week.
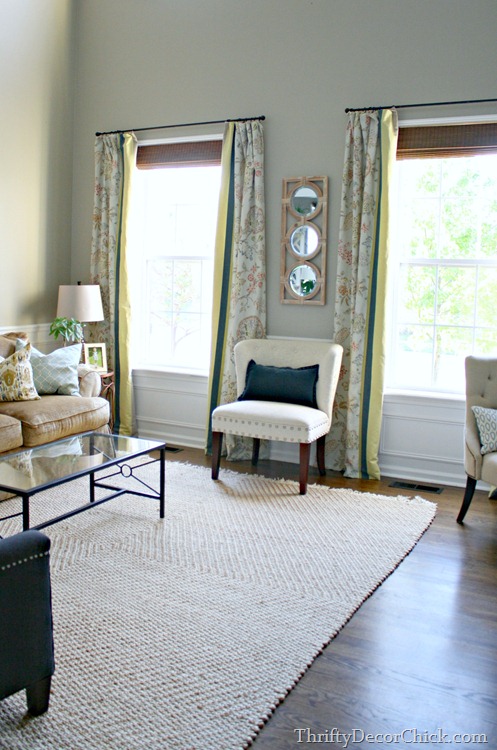
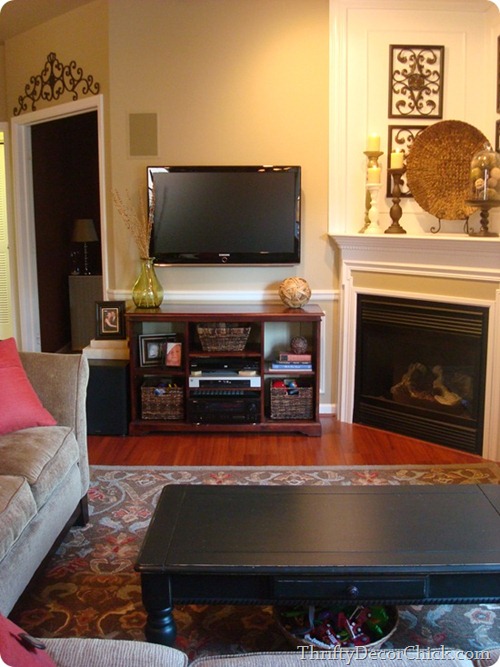
There are two rooms I really wanted to change up this year and I basically did nothing in both of them. Ha! This is how our living room looked late last year:
That rug was a total, epic fail (it literally fell apart with wear and tear from the dog), so we won’t be doing that again.
This room is a wide open one with high ceilings but those are the things that stump me. I decided this would be the year that we’d get a new sofa in there because I hate the one we have. I guess hate is a strong word…strongly dislike. It’s been there forever and was one of those I-need-to-fill-this-space-so-I’ll-buy-something purchases years and years ago. You can’t clean it without shadows appearing all over the upholstery and it’s HUGE. It is comfy…it’s got that going for it.
Well other stuff became priority so the new sofa didn’t happen. Which is fine because I’m still not sure how I want this room to look. It’s hard to work with because there’s only one usable wall and it’s like 20 feet tall. I laugh that these are my “problems.” Nice ones to have.
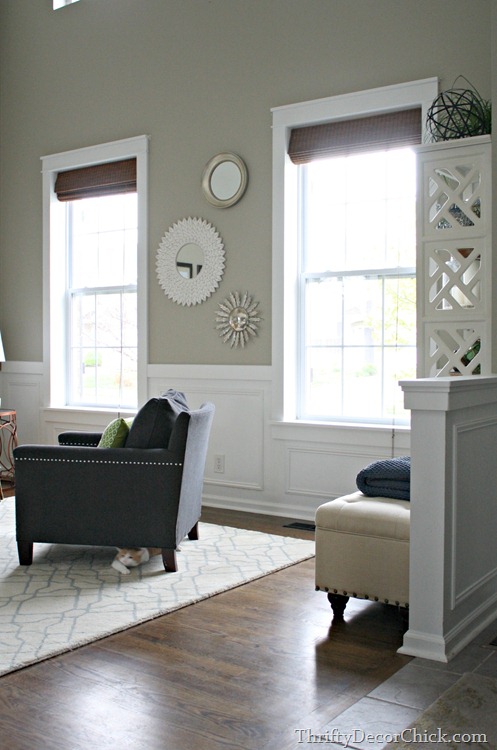
I did go add the craftsman trim to the windows which I lurrrve:
Those drapes were moved to the library and I love them in their new spot!
Another space I’ve been wanting to work on for YEARS is our loft:
It’s been many “rooms” over the years – before the kiddo it was a lounging space for us. Then it was a playroom. Now a craft room. Someday (hopefully no time soon) when we move we’ll probably make it into a bedroom so we can sell as a four bedroom.
It’s a large room but I still don’t feel like we’re using the space well. I finally came up with a plan and I’m SO excited to get started!! Here’s the layout as I see it:
Disregard the colors – it will not have a purple rug and pink pillows. ;)
I use an app for the Ipad called Living Room to create these by the way. I bought it years ago and have used it many times. I planned the both the basement and family room renovations with this app – it’s awesome:
Anyway – my plan is to add mega storage. Wonderful, glorious storage. Do you hear the singing?? I hope to add a line of drawers along the long wall to the left. And built ins on each side of the window seat have always been the plan, like this:
Because the line of lower cabinets will run along the one wall I’ll have to figure out how to butt them up to the built ins around the window on the left side:
This photo shows how I could make it work:

I want build a table out into the middle of the room from the line of cabinets so we have a big spot to sit and craft, wrap presents, draw and color, whatever.
Something like this:
Although I want mine to have storage under the end of the table.
We currently use my DIY craft table but I think I’d like something shorter at table height. I think it’s just more comfortable to sit down at that level.
I’m really excited about how functional this room could be! We will keep a TV up there so we’ll still have a spot to sit and lounge as well.
This is one of those rooms we really don’t need – but we do end up spending a decent amount of time in there. I just hate that it’s not as functional and pretty as it could be. Hopefully I’ll fix that this year. ;) First up though – we want to put hardwoods down in the room. The carpet is truly gross but we’ll have to save up for that and I won’t start up anything much else till we get those done.
The final project I had hoped to start/finish this year was the kitchen…and I’ve barely touched it! This redo will be one of my biggest yet. Or the biggest. I’ve had a good idea of what I want to do for years now but I’m glad I waited to tackle it because now I’m feeling really good about the direction. I’ll share that plan soon too – it needs it’s own post!
Of course not all of this will get done this year. I try to do as much as I can myself and I tend to take my time. ;) Plus finances will determine how much I can get done too – but I’m SO excited to tackle both of these spaces and finish up some others as well!
Do you have any fun plans in your house for 2015? It’s such a fun time of the year to dream of what’s to come!
Hope you have a wonderful and safe New Year’s Eve and a great start to 2015!! Thanks for joining me for 2014 – I am truly grateful!!
Biggest changes in 2014!
Hello there my friends! I hope your holiday was wonderful!! Ours was fantastic and we’re totally enjoying the entire break so far. I read one book cover to cover in one day, we’ve seen Night at the Museum 3 (loved it) and hope to see Into the Woods tonight. I’ve done equal parts sitting on my butt and cleaning/decrapifying/organizing as well. :)
Since we are nearly the end of 2014 I like to look back at the biggest projects I completed throughout the year. If you haven’t noticed before and after pictures are pretty much my favorite thing ever, so I’m including pics of how they looked at the start of the year as well as the final result (which is often not the end result cause everything takes me forever).
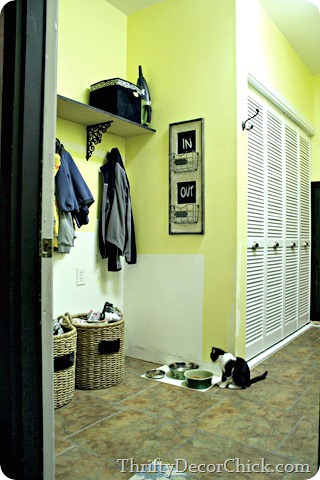
First up, the mud room. Ohhhh yes. The mud room! When we had the basement finished a few years ago we moved our laundry down there and it’s seriously one of the best things we’ve ever done. We lived with it as it was for quite a while and then at the beginning of this year I got started. This is how it looked to start:
What’s funny is I was so tired of the bright yellow I had in there for years I felt like the blank white looked a ton better:
I love that you can see where I painted around the washer and dryer way back when. At least I used tape to get a straight line!
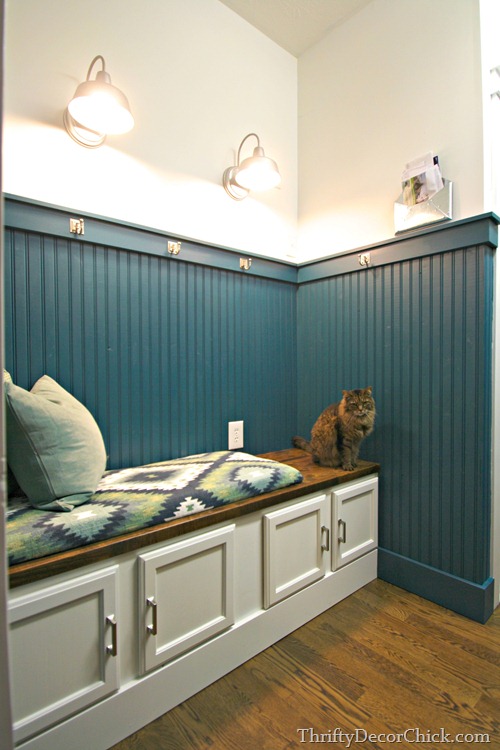
So anyway, I got busy installing the rest of the beadboard and painting it, building a bench (out of kitchen cabinets), DIYing a cushion out of a rug and then adding the sconces:
Um…we LOVE it. Love love love. Seriously, I’m so happy to have an actual landing zone when we walk in now.
I still have a lot I want to do in here – I’ve been wanting to build the upper storage for a year now and just haven’t gotten to it. The ceiling needs to be patched and painted (due to some water issues) and I will add crown molding too:
I changed out the overhead light in the space recently and still need to show you that too (it created some new holes in the ceiling as well).
Funny thing, seeing our big cat in these photos – this bench is his absolute favorite spot in the house. The furnace is in here so I think it’s probably the toastiest room:
On a side note – if you’ve ever wanted to spray paint your door knobs be sure to check out my experience with it in this room here.
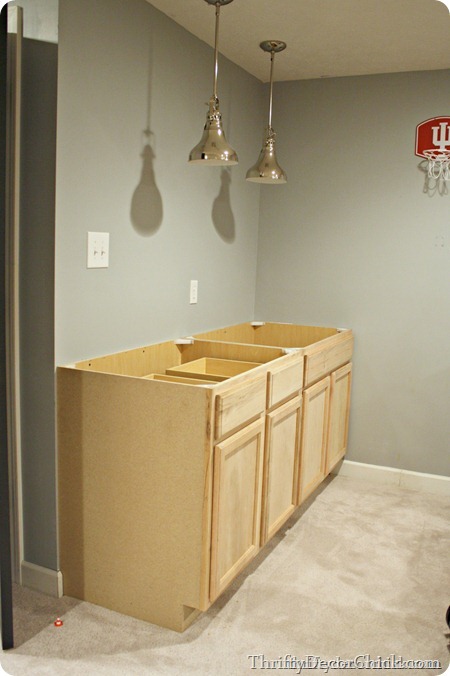
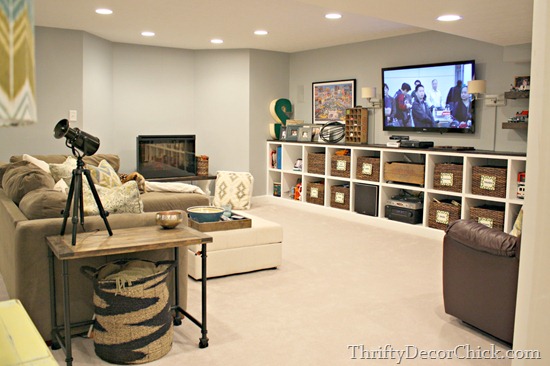
We didn’t do much in the basement this year (although I still have some fun plans in mind) but I did make some progress on the little kitchenette down there. This is how we started at the beginning of the year:
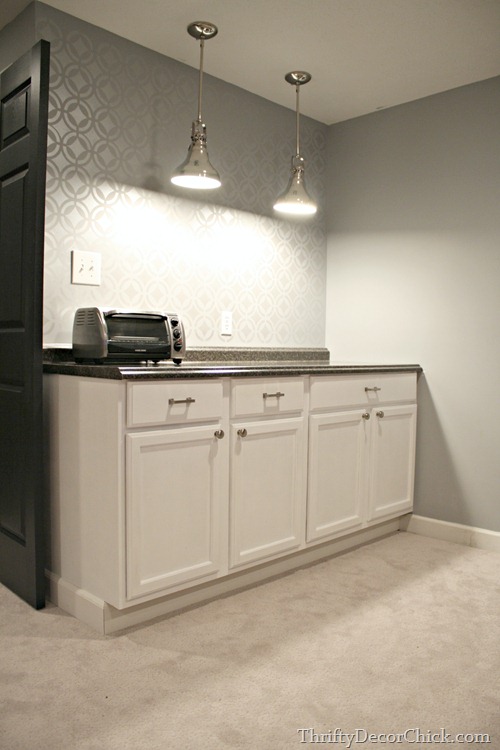
I installed the (super cheap!) countertops and painted the cabinets. Then I added a little bling to that wall with a stencil I found at Hobby Lobby:
We’ve since installed the sink down there and I’ve had the shelves to hang for probably six months. Hoping to get those up over break.
I also shared the details of how we had our basement finished for (what I think) a great price:
Basically we used small business contractors, spread it out over time and I did the finish work myself. But I share all of the costs and break down in that post.
Our master bedroom got some updates as well. I’ve been working on this room for over a year now and may finish it next year…we’ll see. ;)
I couldn’t decide if I wanted our room to be bright and light or dark and comfy…so I went halfway. I started painting the room the lighter color I picked out:
And then decided I was craving some drama. So I added it in the form of some trim and a dark gray color called Peppercorn:

(To see how I made the tufted headboard for less than $100, go here.)
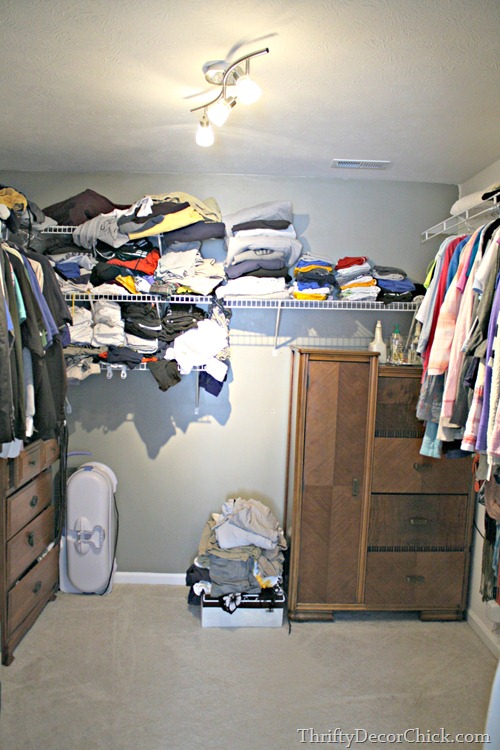
I worked my tail off on one of the biggest transformations in our house this year that no one sees but us – our master closet. It’s big and we weren’t using it well. This before photo was the closet on a really, really good day:
I mean…really. This was nothing compared to the usual mess.
I purged big time, installed more kitchen cabinets (yes, I have a problem. Yes, they work and they are cheap!) and then painted everything in purple tones – my one girly room the house! :)
It kind of changed our lives:
You can see more of the final reveal here. A functional, clean closet it highly underrated. I still have more plans for the space but so far it’s working SO MUCH better than what we had before.
And finally, the spaces I got some help on. We had dreamed and planned to potentially add on to the back of our home – our family room and kitchen were open to each other but very tight and awkward due to the layout of the fireplace and windows.
We had saved up a chunk of change do a renovation but we realized pretty quickly it wasn’t going to happen. Getting contractors to respond was impossibly hard (only a few even responded) and the costs we were getting from those who did respond were astronomical.
Along the way a reader put an idea in my head and we went with it. Here’s an old photo of the wall that we took down:
Believe it or not this after photo is only taken a couple feet behind where the one above was taken:
We knocked down the wall between my office and the family room and reconfigured the fireplace. We gained 100 square feet in doing so:
The biggest part of the room is the new fireplace placement and built ins. They looked like this to start:
That white chunk of wall is where the old corner fireplace was. So happy that is gone!!
After I trimmed it out and painted, added some new doors to the cabinets (so we could hide the electronics in there), tiled the surround and then planked the wall above, it turned out like this:
That’s the Christmas version. ;)
Here’s another view of the room before (a more recent one):
And now from the same general area: 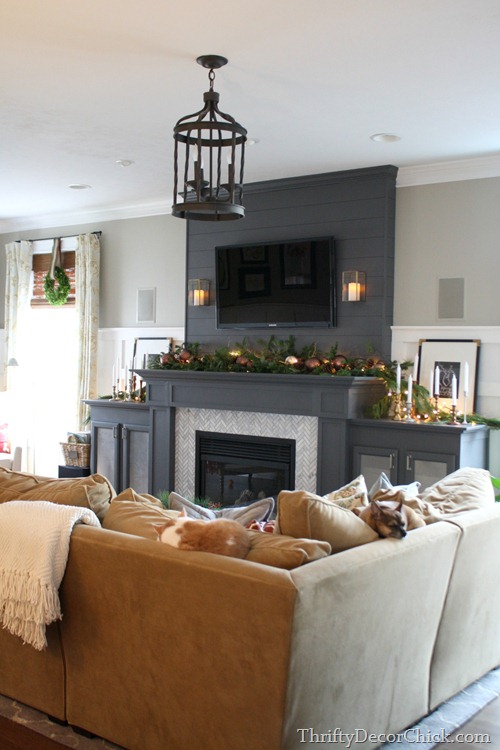 The changes made a bigger impact to the kitchen than we anticipated too, so we went ahead with our second phase sooner than planned. Here’s the view into the family room before:
And here it is now (as a kitchen!) with the new doors:
Those doors? Easily top five best things we’ve done in the almost 11 years here. They are amazing and completely changed how we function in these rooms. Absolutely love:
You can see the entire renovation process (over five months) here.
It’s been a GREAT year! I am so happy with the changes we’ve made and so thankful we were able to make them!
Onto 2015…I’ll share my plans for that next! Did you do anything fun to your house this year? We did a lot but it’s kind of my job. ;) And it’s my passion – I love it!!
New Year's Beans and Greens – Like Winning the Lottery, Except You Eat the Ticket!
Here are some ideas that may, or may not, help get you into a higher tax bracket. Just click the recipe name, and you’ll see the original posts with ingredients. Enjoy!
Italian-Style Beans and GreensSo simple, so good, so comforting, and so a lot of other things. Italian soul food at its best. | |
Utica Greens and BeansThis delicious good luck charm hails from Utica, NY, and in addition to the obvious ingredients, also features pancetta or prosciutto. | |
Black Eyed Peas with Pork & GreensThey say the coloration on black eyed peas makes them look like coins, which adds to that whole prosperity in the New Year thing. Sure, if you squint, I guess. Very tasty nonetheless. | |
Brazilian FeijoadaYou'll have to serve this with a side of braised greens if you're serious about getting rich in 2015, but either way, this amazing stew is not to be missed. | |
WALLPAPER DECORATION
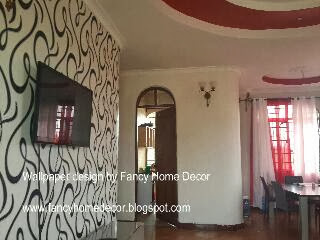
It looks Classy and elegant.
 |
| Kabla ya kubandika wallpaper ilikuwa hivii...TV ilikuwa ni ile ya ku fix ukutani, kwahiyo tuliiufungua kwanza ndo tukaanza kubandika wallpaper. |
 |
| Kazi ya kubandika ilianza hivii... |
Of Lobster Bisques and Christmas Breaks
Click here to see original the Lobster bisque post!
From our home to yours
Hello my friends! I’m so excited to see all the comments and emails on yesterday’s post. That will be open through the end of the week.
This year I really did less than ever with the holiday decor – I actually wanted to do more but time just didn’t allow. Next year I’m starting in October!! Kidding. As far as you know.
Of course like every year I didn’t really get the bug to do a lot of decorating till the past week or so – when things are crazy. It never fails. And in a few days I’ll be soooo ready to take it all down! :)
But with each passing year I like things a little simpler. I used to have a ridiculous amount of Christmas decor (I still have a lot) but now I much prefer to use what we already have and make it work for the holidays. Fresh greenery is my go to for years now – it’s free (from our yard) or pretty cheap (at the store) and NO STORAGE. Whoot!
Here’s a final look at our home at Christmas this year – I can’t believe how fast this season has gone!
I’m totally in love with these LED lights this year – I actually picked up these at Kirkland’s over the summer!:
They were $10 for five feet and are battery operated. Even better – these have a timer option! I so wish I would have picked up more! I’ll be using them year round for sure.
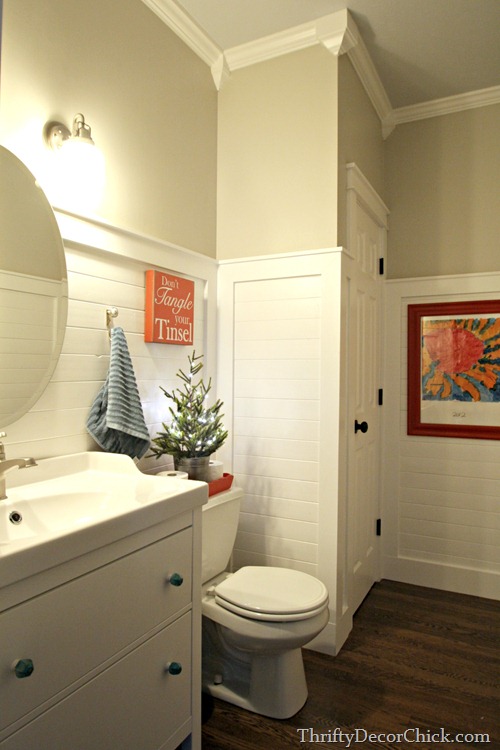
They make for a pretty nightlight in our powder room:
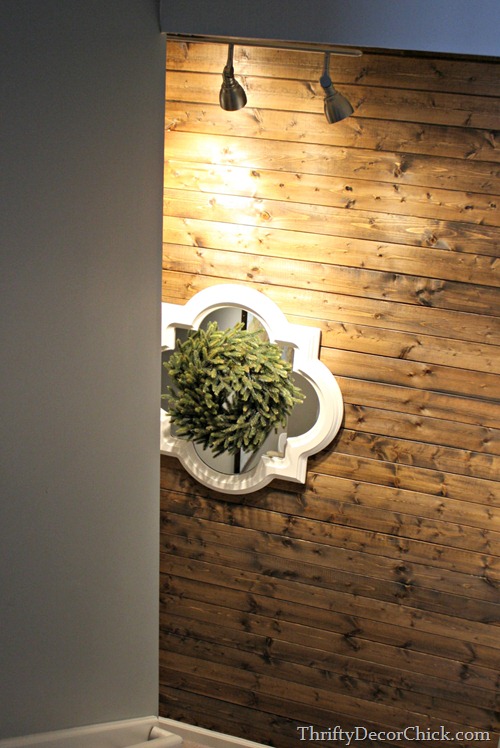
That little tree was from Ikea (someone mentioned on Instagram that those are less than $4 right now!) and I picked up a wreath as well:
I wish I had grabbed another one of these – they have great texture and fullness!
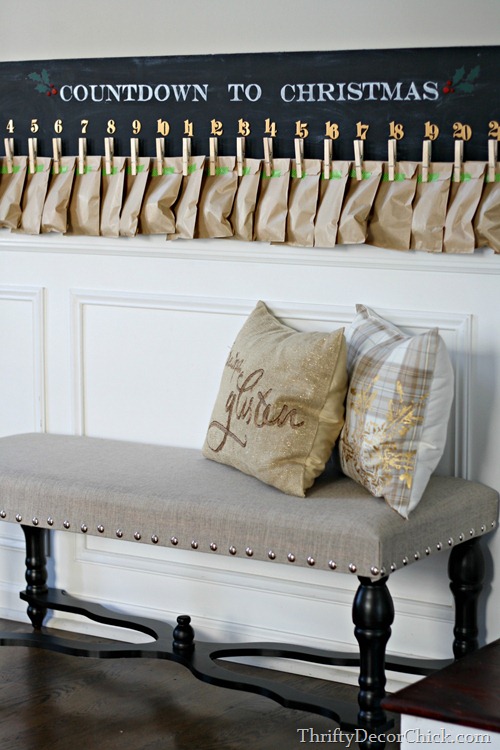
I shared my crazy cheap Pottery Barn advent knock off last month:
I absolutely love it – we hung it in the mud room and the Bub loves grabbing one of the bags every morning. One of my readers created one and hung it on the wall under her cabinets in the kitchen – I thought that was brilliant!
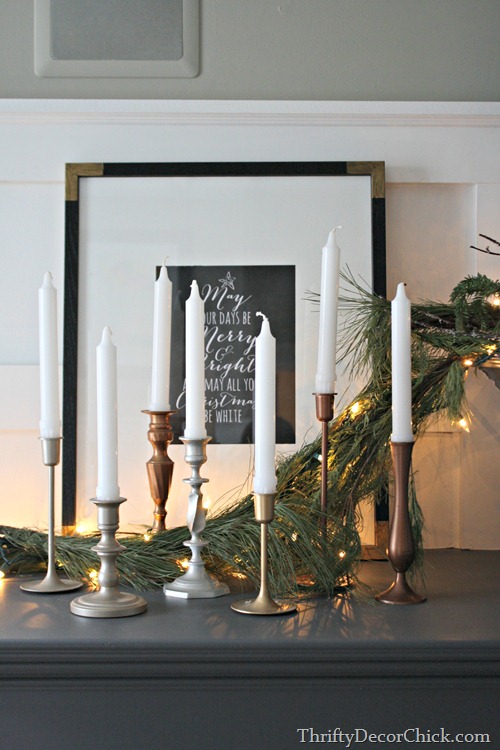
I showed you our new family room and kitchen earlier this month. I love pulling out the metal Goodwill candleholders every year:
They were all brass when I got them and now I’m kicking myself for spray painting some of them.
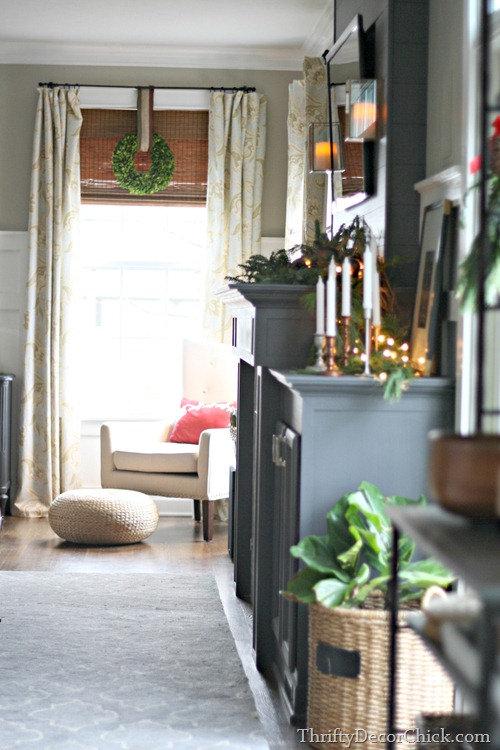
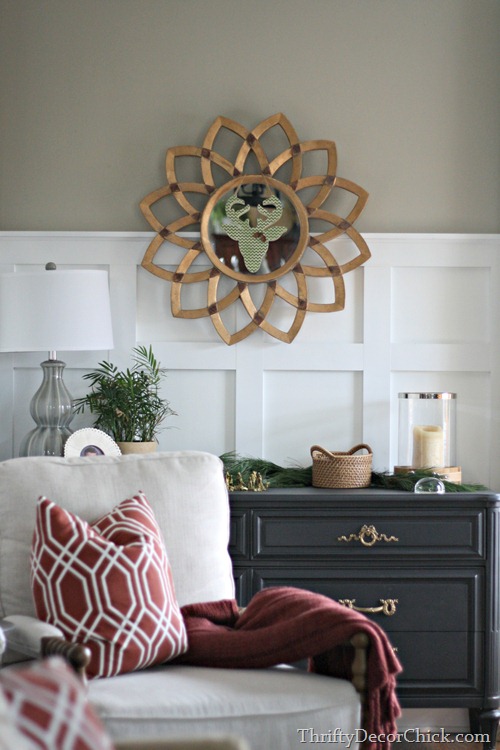
It was so fun to decorate this new space – we absolutely love it!:
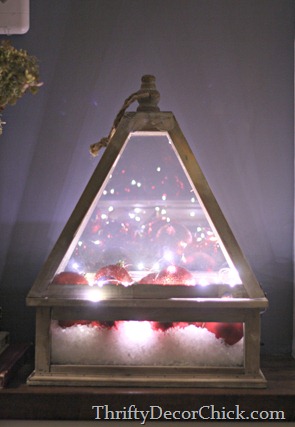
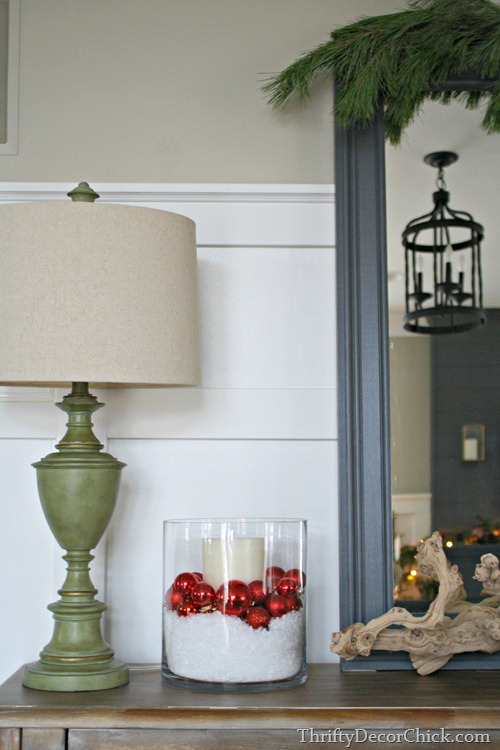
I think there are only four things you need for easy, pretty Christmas decor – fake snow, ornaments, greenery and lights. That’s it. You can fill accessories you already have sitting around and the greenery makes regular spots look festive:
I didn’t do much in the kitchen – mainly just some decor on the shelves and table: 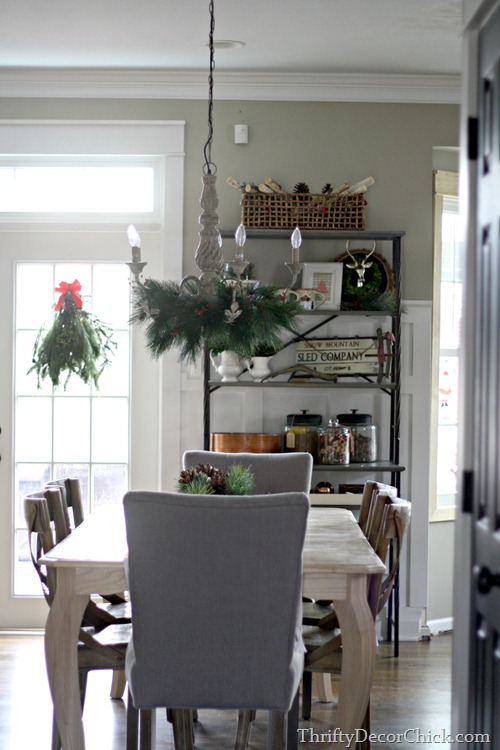
I’m already dreaming of how fun it will be to decorate the “new” kitchen next year!
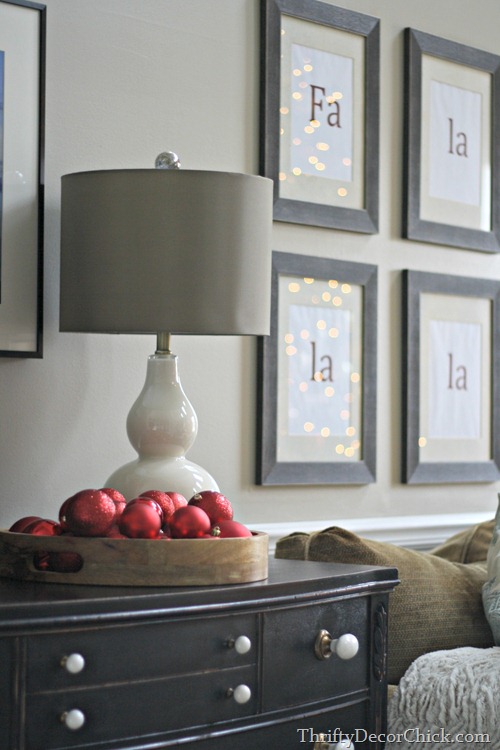
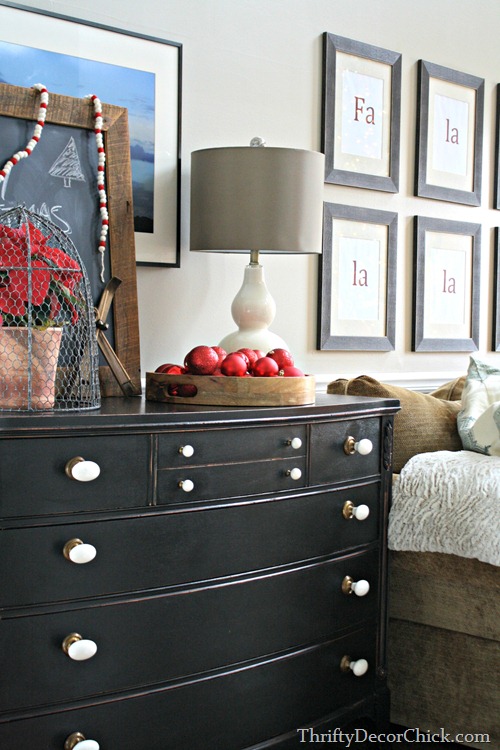
Printables are another biggie – along with my four staples they are becoming my favorite fast and easy way to add some Christmas touches. I printed off my Fa la la’s again this year:
And again…a bowl, a tray, a candleholder? Put ornaments in it. Easy!:
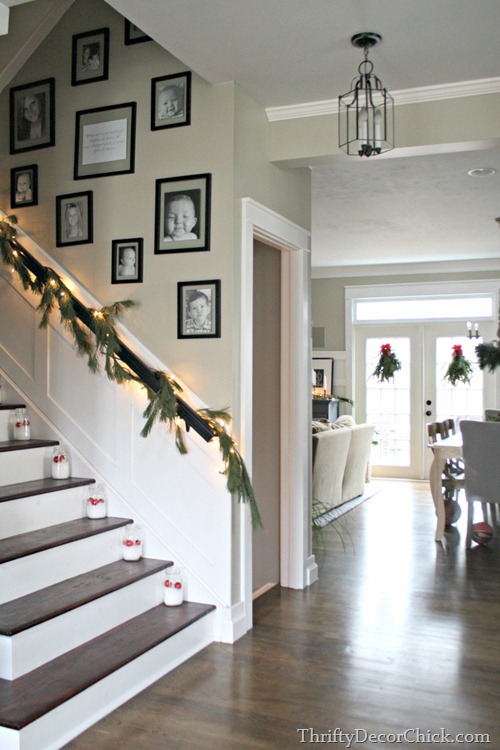
I love our stairs and I love dressing them up this time of year:

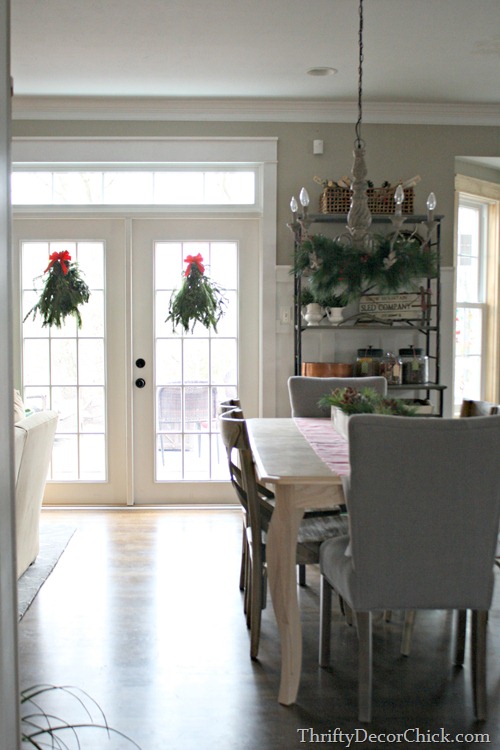
I just wrapped the fresh greenery around the railing, added some lights and then filled my Ball jars with snow and small ornaments. I put an LED votive candle in each one. Love this view to our new back doors:
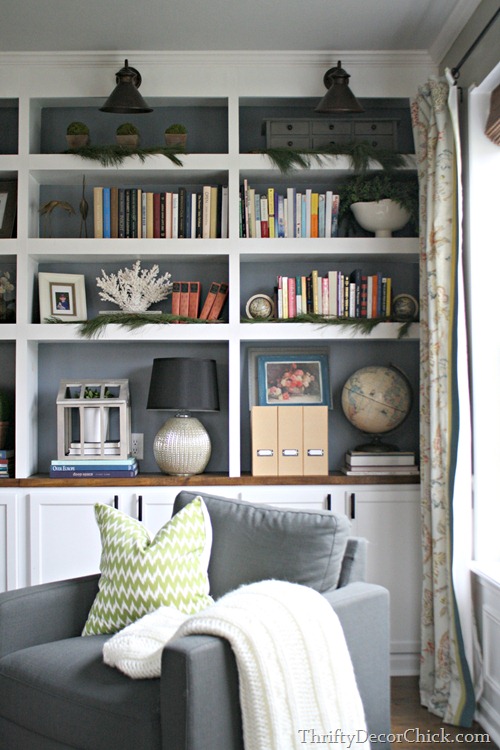
 The new library/den didn’t get as much decor this year either – just a few touches of greenery really:
In my opinion everything doesn’t have to scream holidays -- just adding a big thick cable knit blanket feels warm and cozy. :)
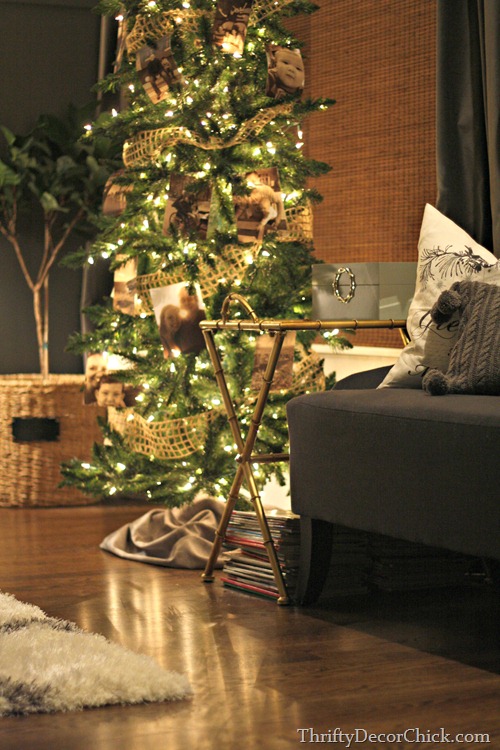
I love to add little holiday touches in our bedroom too – it just got some greenery and our skinny tree:
I shared that room and how I decorated that tree in five minutes (and for cheap) here. I think it may be my favorite tree. :)
Although I say that about all of them. :) Bertha is pretty amazing too:

From our home to yours…Merry Christmas and happy holidays!! I hope yours is wonderful and you have an absolutely lovely time. I will be back next week!


