Happy Friday! Hope you have a wonderful weekend planned -- even if that means laying on the couch watching Christmas movies, cause that sounds amazing. I’ll be doing the same for at least a little bit. :)
I’m back today with a quick tutorial on a project I’ve shared a few times here on the old blog…but I don’t know that I’ve really shared the step by step. Maybe I have…I’m 1300+ posts in here so it gets fuzzy.
But even if I have, it’s been awhile. So here you go – the simple board and batten tutorial for your walls. Mine have a little extra going on at the top and bottom but you can simplify that look to how you’d like it.
We have a small wall between the bay window and new doors that I couldn’t finish up till the doors went in. I decided to tackle it about four hours before we had 20 people arriving at our house last weekend. Perfect timing, duh!
This is what I started with:
Now that I’ve done this a few times I always start at the top. The patches on the wall were from a speaker we didn’t need and a hole they had to make to run some electrical. These spots really need another coat of mud but I was tired of this area looking half way done…so they were painted. I’ll fix that later. :)
This pic really shows the difference in the new and old paint by the way. The bottom is the Sisal we had up for ten years, the top is Analytical Gray that we’ve used throughout the main floor of our house.
Here’s a close up of the top piece – it’s actually three pieces of wood/mdf:
The mdf is the main piece along the bottom, there’s a 1x2 on top (either wood or mdf – I usually use mdf but I was using what I had in my scrap pile) and then a small decorative trim piece in the corner those two create.
I don’t always add that little trim – in our mud room I did a similar topper and just left it without for a simpler look: 
I haven’t touched it up yet, obviously. ;) You can do a nicer “return” at the end and most of the time I do that – but I’m not sure if I’m adding this trim around the bay window area with the window seat or not. So I just did a straight cut and I think that’s fine too.
The bottom is a little more complicated – I did the office base like this and had to match the rest of the room to it when we took the wall down:
I did it this way because our original baseboards are so impossible to remove – so I just cover them up. I shared how I’ve done this with a simpler look here. Here the guys removed the base when they installed the new door so I had to use scrap behind it to mimic the look around the room. I prefer no quarter round lately but I had to use it here. (This is actually isn’t quarter, it’s a slightly thinner trim.)
So that’s why it’s so busy down there – and I do this so that the boards have a flat surface to butt up against at the bottom. Otherwise they will most likely be thicker than your baseboards – not a big deal really. But if the overhang will bother you you’ll want to adjust/remove your current baseboards.
Anyway…before I install I’ve learned it’s easiest to paint the wall first:
It takes me three coats to get it covered well. I just use the base white from Sherwin Williams – I believe it’s called Pure White. I will also use a basic semi gloss white off the shelf at the hardware store.
The long boards go second:
I’ve done this both ways – the longer boards first and the topper second, but I find I can get a tighter fit if I do these second. (I can get it just right so I don’t have gaps.)
The horizontal, shorter boards go last:
My spacing around the room has been 10 inches down from the topper. Of course that was brilliant spacing because it hits every. single. switch. :) I just do that section in three pieces – I’ve tried using a jigsaw to cut the notch for the switch plate but I can’t cut that straight – it’s not pretty.
This works much better. After caulk, nail filler and two coats of paint on the boards, it’s ready!:
The baseboards will continue to the window seat so that area is undone for the time being. I’m finishing up the crown extension this weekend so that wall will be completely done!
Again, this is not a hard project – it just takes time. I used some scrap and some new mdf for this section. One eight foot piece get’s you one board (more if you’re making yours shorter) and at least one batten. ;)
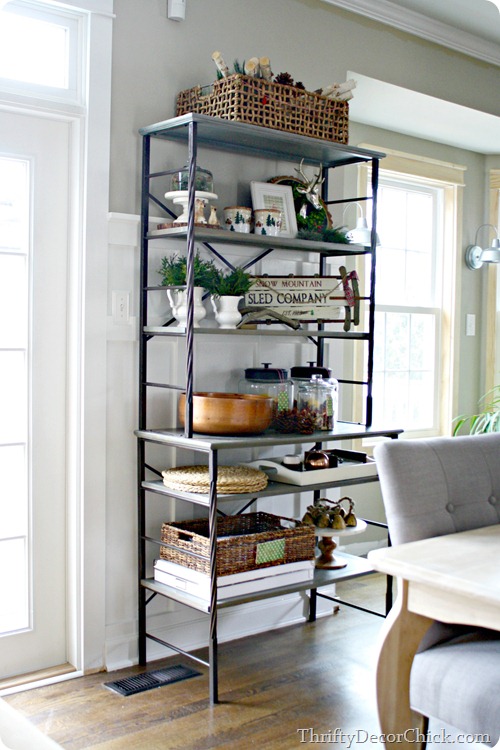
It looks crisp and clean and pretty with the newly decorated shelves in the kitchen:
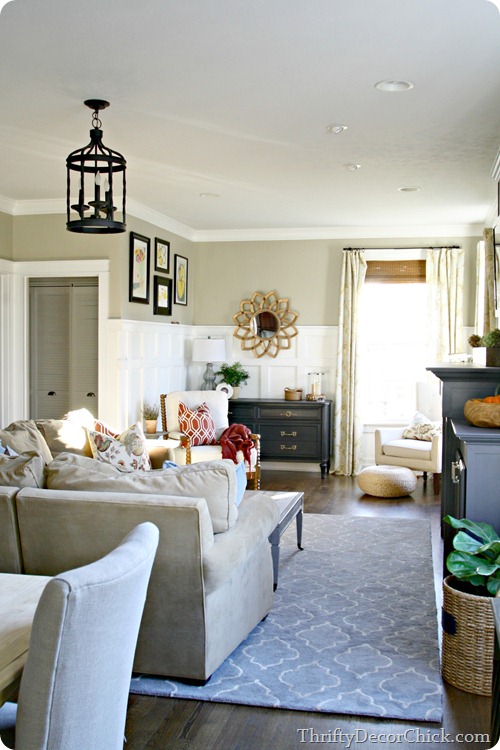
And of course this wall now matches the family room next door, finally! Yay! I’ve been waiting so long to get that little wall finished up!:
 Goodness, it takes forever to get these little projects finished up! Good thing I LOVE doing it!
So there you go, a quick how-to on that classic board and batten look. Have you done this treatment on your walls? If you have any questions please let me know! Have a GREAT weekend my friends!


0 komentar:
Post a Comment