Hello everyone! Hope you had a lovely weekend! Your comments on Friday’s post were SO interesting to read – I had chills and tears in my eyes often. I loved what Kristy said, “I do not believe those are coincidences. Those are called ‘God promptings.’ God is speaking to your soul and prompting you to act. I think God is calling you to special prayer at those times for those people that he is calling to your mind.”
That really stuck with me and I think it is so true. Lovely.
I’ve been meaning to get this little project done for a few weeks now. I shared some of my favorite feeding station ideas for animals a couple months ago. Although I don’t have anything that cool, we did need something to corral the dog and cat food bowls.
We used to keep their food in the mud room but when I built the bench we ran out of room. I moved it to the kitchen and for some reason when I did that our middle cat started messing with the water bowl. Maybe she was mad? I don’t know but she still does it occasionally – we’ll fill it up and a few minutes later we’ll hear her thwap thwapping in the water and she gets it EVERYWHERE. So we’ve kept the water bowl on the rug by the back door to keep the spilled water from sitting on the floors. Fun times!
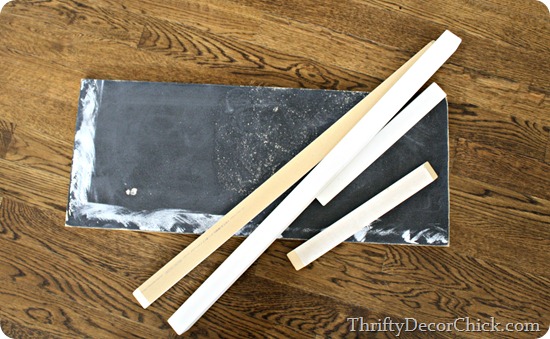
Anyway, long story short, I’ve been wanting to put together a tray for all of their stuff, hoping it would contain the water a bit. I started with my favorite…scrap wood:
The black wood is actually mdf that was a shelf in our laundry room now mud room. Normally mdf isn’t great with water but if you paint it well the paint will prevent most issues. Our backsplash is mdf beadboard and it’s held up great for years with a coat of semi gloss paint.
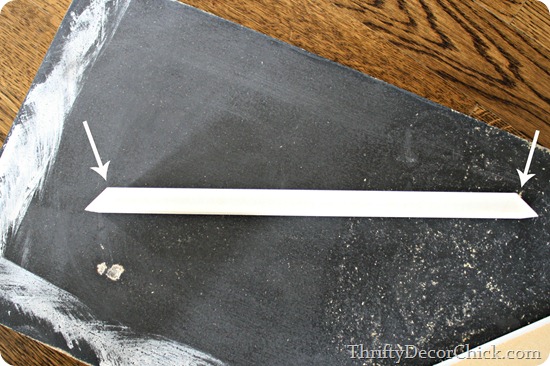
So it’s incredibly easy to make a tray like this – I measured the bowls to see what size I needed and I ended up with 30 inches by 12 for the base. Remember when you’re cutting your pieces for the trim that you want to make sure they are measured from the inside cuts, not the outside:
So if you’re trim is supposed to be 30 inches long, that 30 inches should be from the inside cut to the inside cut, not the longer edges. Does that make sense?
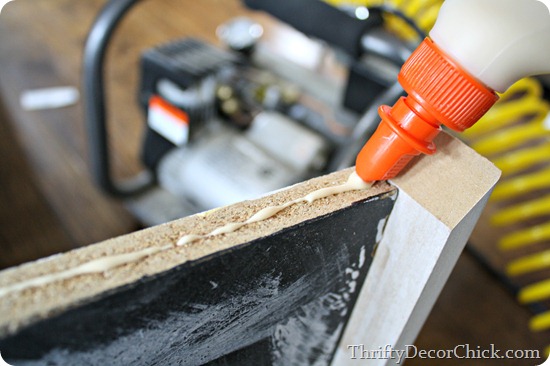
I used some wood glue and my nail gun to attach the pieces along the sides:
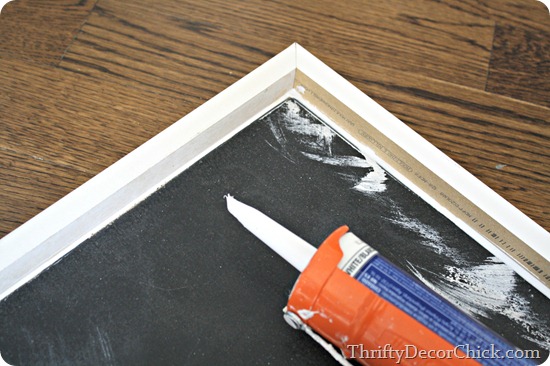
And then because I wanted this to be somewhat water tight I caulked the gaps:
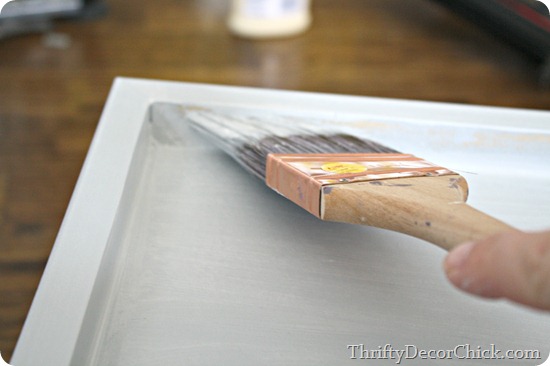
I gave it two coats of the same color I used on the kitchen island (Jubilee by Sherwin Williams):
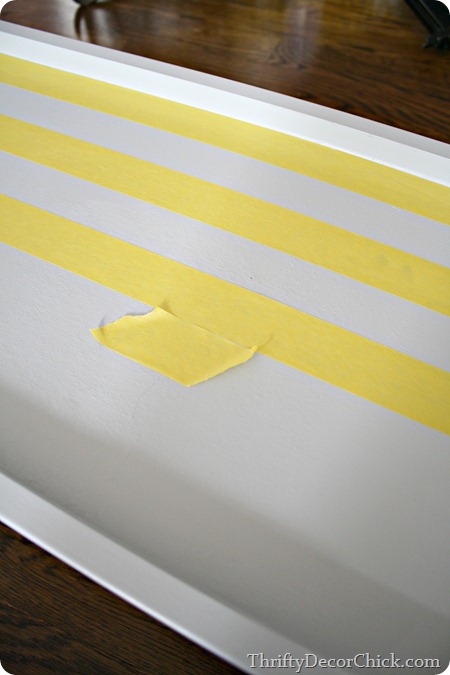
And then broke out the FrogTape® to add a little bit of fun:
I didn’t measure anything out or make sure the lines were crazy perfect – I mean, the animals are the ones looking closely at this and I really don’t think they care. :) I did use a piece of the tape to space them out evenly, as you can see above.
I used the yellow delicate Frogtape since the tray had just been painted. (Don’t put it on too fast, make sure it’s good and dry.):
I did the stripes after it was put together on purpose – I knew I’d be caulking everything so I wanted to paint the stripes after that was all done. If I was doing a basic tray I would most likely paint the stripes before I put the whole thing together.
I used a green paint I had in my paint pile for the stripes and they came out great! I added a coat of polyurethane when everything was dry – this will keep it even more water tight and make it easier to clean.
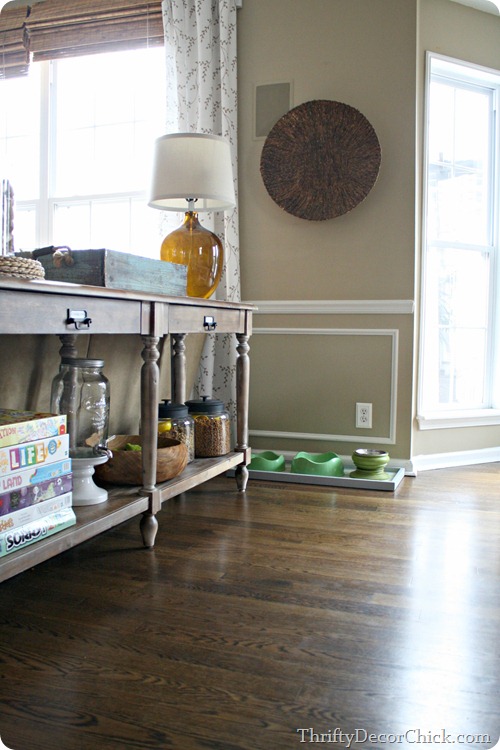
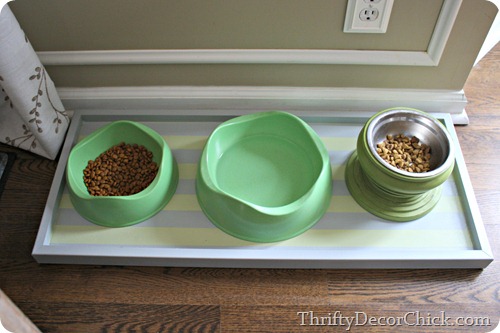
I think it’s pretty darn cute! It’s extra nice to not step over the water bowl when we take the dog out back. :) So far the trouble kitty has left the water alone on the tray…we’ll see how long that lasts:
At least if she does it will be somewhat contained. If she does it again I’ll be changing out that outlet for a GFCI by the way.
Someday I’d love to have a fancy pet feeding station (because I know we’ll always have a bunch of animals), but for now, this is cute and it works!:
 And I love seeing the transformation of a scrap pile of wood:
To something useful!:
This one was free for me but to make one this size (or even longer) would be about $10-$15 for the cost of materials.
I’ve made a few trays in my day, including this one that we now use in the basement, and this Lego play tray. You could add some handles, use a stencil on the base, whatever you want – the possibilities are endless! :)
I received compensation to complete this project for using FrogTape® products but use them anyway. :) All opinions, projects and ideas are based on my own experience.




0 komentar:
Post a Comment